Showing posts with label baking. Show all posts

Coffee and Walnut Cake - The Recipe


A classic coffee and walnut cake recipe with a buttery yet light sponge and a rich coffee flavoured icing...

I am not usually one to indulge in a coffee cake, I would rather have a chocolate fudge cake any day but whilst looking for something to bake yesterday I laid my eyes on this wonderful recipe in the Great British Bake Off cookery book. It just looked so damn tasty! And if I am honest it was one of the few recipes I actually had the ingredients for, lazy I know, anyway I wanted to share this with you as it is easy to follow and really quick to make.

For the sponge you will need -
175g unsalted soft butter
175g caster sugar
3 medium eggs
75g chopped walnuts
175g self raising flour
1/4 teaspoon of baking powder
1 tablespoon of instant coffee dissolved into 1 tablespoon of hot water

For the filling and topping you will need -
125g unsalted butter
300g icing sugar
3 tablespoons of instant coffee dissolved into 2 tablespoons of hot water
4 tablespoons of double cream
25g chopped walnuts for decoration

First start by pre-heating the oven to 180 C and line two eight inch cakes tins. Put the softened butter and sugar into a bowl and beat until light and creamy, gradually add in the eggs one at a time beating well after each one is added. Add the nuts, sifted flour and baking powder followed by the disolved coffee, carefully fold all ingrediants together until thoroughly combined. Divide the mixture between the two tins and spread evenly. Bake for 20-25mins until golden and the sponge springs back when lightly pressed. Once out of the oven run a round bladed knife around the egde of the cake to loosen and then turn out onto a wire cooling rack, leave cakes to cool completely.

To make the filling and topping heat the butter in a small non stick metal pan until it starts to bubble, sift the icing sugar into a large heatproof bowl and pour over the butter followed by the disolved coffee and cream, beat well using a large wooden spoon until the mixture is smooth, leave until thick enough to spead. You may need to chill the mixture in the fridge for ten minutes or so. Once almost set spread onto the bottom layer of the cake and then place the second sponge layer on top, put the rest of the mixture onto the top of the cake and spread using a spatula, run a knife around the top to create a swirled pattern and then decorate with the chopped walnuts.

The recipe says the cake should last four days so it is a  great one to prepare one or two days before having guests round, although it didn't even last a day in my house! Let me know if you try this!


Where to go: Brighton - SILO


The pre-industrial food system that generates zero waste, uses products in their rawest form at the same time as creating delicious food. Introducing Brighton's greenest new haunt - SILO...

Wondering the North Laines the other day in search of something chocolaty I was lured into SILO, a new restaurant, bakery and coffee house in Upper Gardner Street with a beckoning display of goods in the front window. Fresh artisan breads, cakes, bakes, slices you name it - they have it, and all with that charming homemade look about them. I went for the hot chocolate, taste wise this place delivers a good hot chocolate, thick, creamy melted chocolate consistency - size wise though I could have definitely polished off at least two.

The menu looked as if it was packed with creative dishes and after a little research I discovered SILO locally sources all the ingredients used in their kitchens, they even mill their own flour, they rely on a network of ethical farmers, growers, tea merchants, the list is endless. All combine to create this very modern take on eating out.

The restaurant vibe is similar to that of places found in Brick Lane, the place is buzzing with tables packed with bearded twenty somethings all with their laptops spread all over the tables. The decor is very Pinterest worthy with chalkboards everywhere, exposed white bricks and the menus projected all over the walls.  We had to go away and do a little shopping before there was even a free table so definitely popular since its opening.


Will you be checking out SILO?


Where To Eat: Brighton - The Creperie


When it comes to finding nice places to eat in Brighton it is hardly a struggle, The Creperie is one of Brighton's little gems that still feels somewhat undiscovered...

Nestled right along the coastline near the iconic Pier it is in the perfect setting when you are in the mood for a seaside snack, whether you are after something sweet or savoury this is the place to be. The menu was created by Karen Samuel and is packed with mouth watering delights like sweet crepes, waffles with chocolate and fruit, there is also a wide range of gelato and sorbet and some seriously delicious savoury dishes like the Mediterranean crepe filled with roasted vegetables including courgette, aubergines and peppers. On my most recent visit I chose the 'Soft and Mallow' sweet crepe - a freshly made soft crepe filled with white chocolate and baby marshmallows that had melted and turned into a truly tasty gooey mess - definitely one I recommend!  

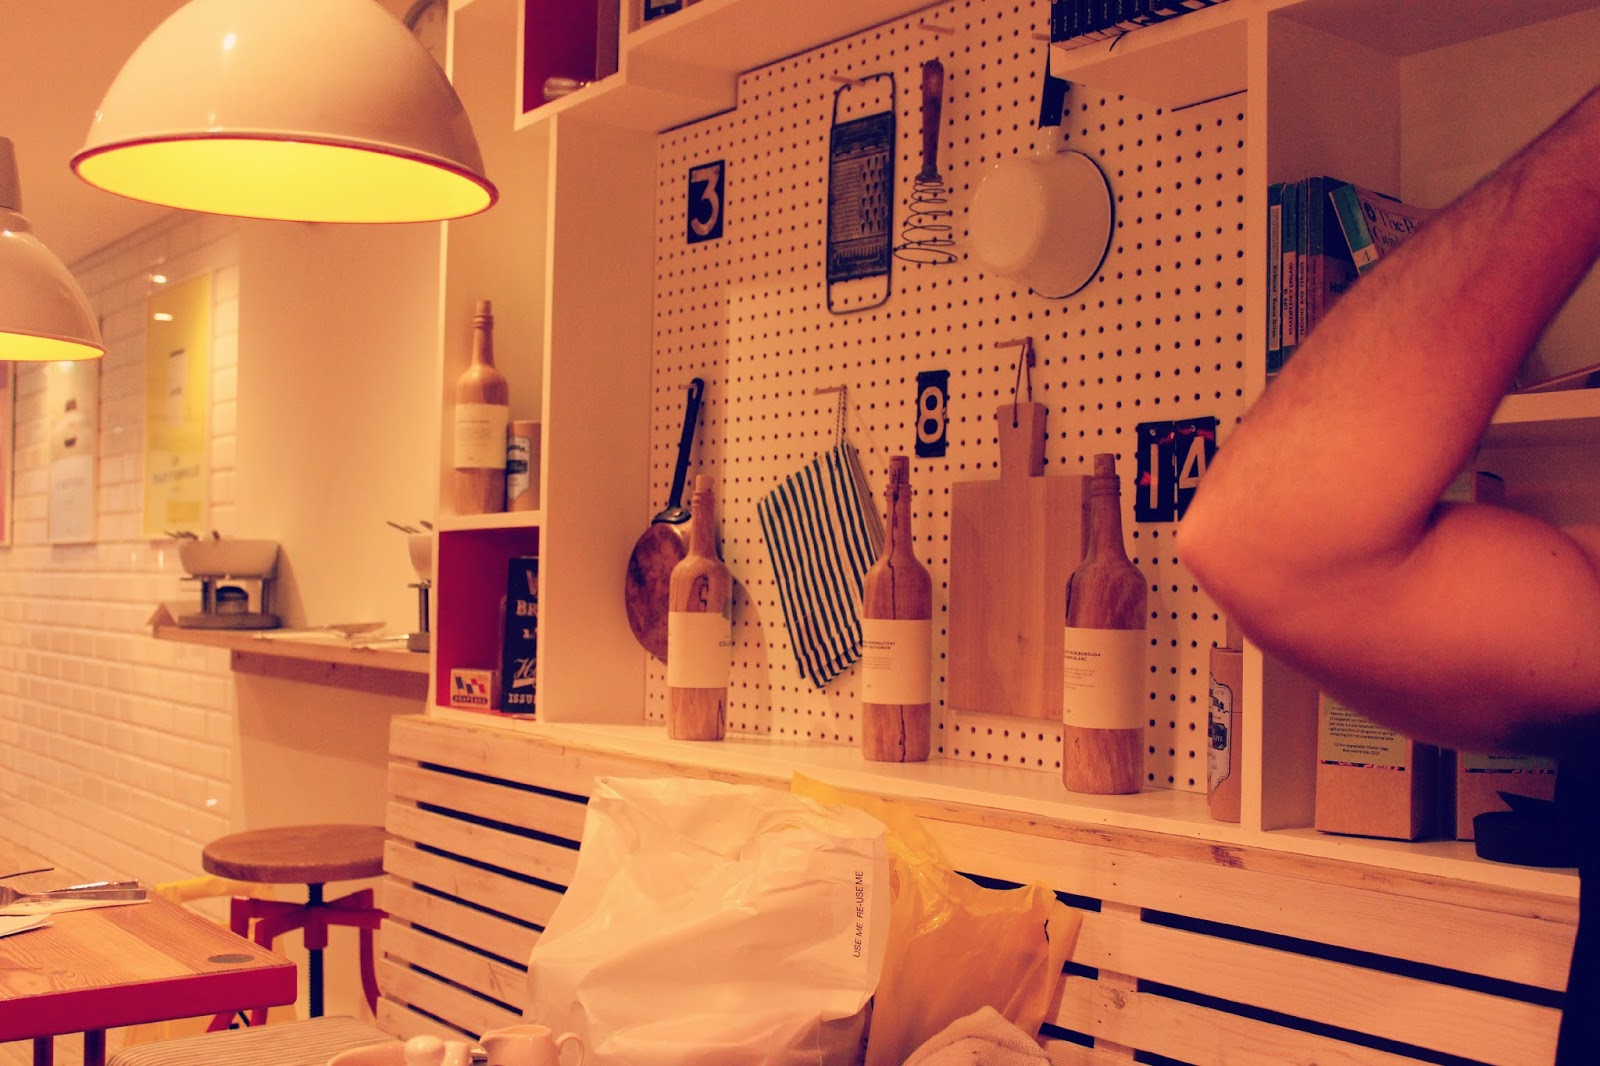
The décor is also one of the reasons it is one of my favourite places in Brighton, it is a classic mix of French and English, filled with vintage enamel wear and cookery books filling the shelves behind the seating area.

Next time your visiting Brighton go and check out The Creperie, you won't be disappointed!


Vanilla Cupcakes


Everyone loves a cupcake, they are super easy and fun to make, here is my favourite recipe for Vanilla cupcakes:

You will need:
120g plain flour
140g caster sugar
1 and a half teaspoons of baking powder
40g unsalted softened butter
120ml whole milk
1 large egg
3 drops of vanilla extract
Chocolate bars for decoration
12 hole cupcake tin lined with paper cases
For the icing you will need:
250g sifted icing sugar
80g unsalted butter
25ml whole milk

Pre-heat your oven to 170 degrees and line your cupcake tray with the paper cases. In a large mixing bowl add the flour, sugar, baking powder and butter together and mix using an electric whisk until the texture feels sandy. In a separate bowl mix together the milk and the egg and then slowly add this to the dry mixture along with the vanilla extract. Once combined pour the mixture into the cupcake cases until they are 3/4 full. Pop into the oven and leave for 20-25 minutes, once golden and the sponge springs back they are ready to come out, put on a wire rack to cool. Once the cakes have cooled down you can start on the topping, mix the sifted icing sugar and softened butter together to create the icing, if you want you can add food colouring too! Using a palate knife or a piping bag ice the cupcakes and then decorate, I used Crunchie Bars and Flake, they tasted delicious!

Are you going to be baking this weekend?


Orange, Pistachio and White Chocolate Sponge Cake


I visited a lovely cafe in Worthing called Green Cuisine not long ago and tried their Orange, Pistachio and White Chocolate cake, and I fell in love. The flavour combination is to die for, it may not be one of the healthiest things on their menu but it sure is the tastiest. I decided to recreate this cake at home using a basic sponge tray bake recipe and altering it a little. For this cake I used a deep rectangular oven tray and an electric whisk and set my oven to 160 degrees.

You will need:
225 grams of softened unsalted butter
225 grams of caster sugar
275 grams of self raising flour
2 level tsp of baking powder
4 large eggs
4 tbsp of whole milk
Zest and juice of one orange
Large handful of pistachios
2 bars of white cooking chocolate
300 grams of icing sugar
200ml of water.

In a large mixing bowl add your flour, eggs, butter, sugar, baking powder and milk and combine all these ingredients to make to cake batter, once the mixture is done add half of the chopped pistachios and all of the orange zest and juice. Transfer the mixture into your lined oven tray. Bake in the oven for approximately 40 minutes. You will know when the cake is cooked when you put a knife into the centre and it comes out clean, set aside to cool. Once the cake has cooled down fully then you can start on the topping. Melt the white chocolate in a glass bowl over a simmering pan of water. In a separate bowl mix the icing sugar together with a little of the water, once this is runny add it to the bowl of melted chocolate, this mixture will go hard very quickly so you will need to add around 200ml of water, keep mixing and adding water until you have formed a thick glossy chocolate topping for the cake. Once the topping is reading smooth over the cake and the sprinkle on the remaining pistachios. I think it is best to do this whilst the cake is still in the tin. Once the topping is completely set then you can slice up the cake into squares and remove carefully from the tin.

Pop this into a cake tin and it should last for a couple of days. Let me know if you give this a go!


Raspberry & White Chocolate Cheesecake

Everybody loves cheesecake right? Well I actually thought I didn't but oh how wrong I was, I wanted to make something special to celebrate my first wedding anniversary, and I know how much Luca loves cheesecake so on went the apron and out came the mixing bowl. I chose to make raspberry and white chocolate one with a dash of mint. I thought I would share the recipe with you as it was such a hit.

You will need:
Half a packet of digestive biscuits
2 tubs of Philadelphia
1 punnet of raspberries
White chocolate buttons - 2 share bags
Unsalted butter - 90 grams
Extra thick double cream - 500ml
Handful of fresh mint
Caster sugar 150 grams
Spring form cake tin
Vanilla paste - an eighth of a teaspoon

Begin by putting the digestives into a bowl and smashing them up making sure not to make them too fine, next melt the butter and stir into the biscuits. Melt one packet of white chocolate buttons by putting them into a glass bowl and placing it over simmering water. Push the crushed digestive mixture into the bottom of the cake tin making sure it is all nice and compact, then put this in the fridge. In a separate bowl whisk the double cream until it holds its shape. In another separate bowl mix the Philadelphia, vanilla paste and caster sugar together, slowly pour the melted chocolate in making sure you are beating the mixture the whole time, take three large handfuls of raspberries and crush them, then add them to this mixture. Add the whisked cream to the Philadelphia mixture and fold the two together. Now you can spoon the mixture into the cake tin making sure to fill all the air holes then smooth the top. Now it is time to decorate, take your second bag of buttons and your leftover raspberries and get creative, don't forget to add a little fresh mint to finish it off.  Leave in the fridge for at least two hours and then you can enjoy!

Have you tried any new recipes recently?


Delia's Scones

I had to work on Christmas Eve and when I came home I was surprised by homemade scones and afternoon tea. My little sister and the boy had set the table beautifully, they followed the Delia Smith recipe for the scones and they were the nicest I have ever had, we had them with strawberry jam and cream. Since we got Delia's Complete Cookery Course Book we have used it for so many different things, it is so well written you really cannot go wrong with a recipe, she explains things so well and breaks every step down making it really simple.

Here is a link for the scone recipe online if you fancy having a go at making these.

What is your favourite thing to bake?


Apple and Oat Cookies


Everybody loves cookies, and this recipe is perfect for this time of year with its hints of Cinnamon. These are really easy to bake, take hardly any time to prepare and they taste delicious. 
You will need:
135g of soft unsalted butter
80g soft brown sugar
80g of caster sugar
1 teaspoon of vanilla paste
190g of plain flour
½ teaspoon of salt
¼ teaspoon of ground cinnamon
½ teaspoon of bicarbonate of soda
2 Granny smith apples
60g rolled oats
Flaked almonds
This recipe makes 10 cookies approximately.

First pre-heat your oven to 170 C and line two baking trays with baking paper.
After measuring all your ingredients, cream the butter and both types of sugar together, then add the egg and vanilla paste; make sure everything is combined well. In a separate bowl sift your flour, cinnamon, bicarbonate of soda and salt together then add the dry ingredients into the bowl of sugar and butter, mix well until it forms a dough texture. In another bowl put your rolled oats, peel the apples and then grate them, drain of the juice and add the grated apples to the oats, once mixed together add this into your cookie dough. Roll the mixture into small bowls, (approximately 2 tablespoons worth of mixture) place the cookie balls onto the baking tray, leave enough space for the cookies to spread out as they cook. Sprinkle a few flaked almonds onto each ball and then bake in the oven for around 18 minutes, a little less if you like your cookies soft.


Death By Chocolate

When it is drizzling outside and your all snuggled up in doors with the heating on, this is the perfect time to do a little bit of baking. After watching the latest series of the Great British Bake Off I felt so inspired I purchased the GBBO recipe book which is full of naughty treats, one of which is the 'Death by Chocolate' cake, I mean how could I resist with a name like that? So after roping in Luca and making a quick ingredient stop at tescos we got started...

'Death by Chocolate'
You will need an electric whisk. Pre-heat the oven to 180 degrees. Grease and line a 22cm cake tin.
Ingredients for the sponge:
300g dark chocolate
150g unslated butter, diced
5 medium free range eggs, at room tempurature
half a teaspoon of vanilla extract
100g caster sugar
Ingredients for the topping
200g dark chocolate
100ml double cream
Decorations (we used white and milk chocolate buttons)

Over a pan of simmering water place a heat proof bowl and melt your butter and chocolate together, once melted start to whisk the five eggs and the sugar in a large mixing bowl, this will take about five minutes, it will double in volume and go a very pale yellow, when you lift the whisk out it should form ribbons that are visible for five seconds. Next slowly pour your melted chocolate into the bowl with the beaten sugar and eggs, fold the chocolate in gently, take your time mixing the two, the chocolate can settle at the bottom of the bowl. Once combined place in your greased and lined cake tin and pop into the oven for around 35-45 minutes. Unlike a normal cake you don't stick a skewer into the centre to see if it is ready, the cake needs to come out before it is cooked all the way through as it continues cooking out of the oven, I left mine in for 45 minutes and found  it to be perfect but you may need to take it out a little earlier depending on your oven. The recipe also mentions the cake will rise a lot in the oven and then sink whilst cooling so no need to worry. When ready take out of the oven and place on a cooling rack to cool and sink. Once cool turn upside down as the flat side will be easier to ice. To make the icing, over a pan of simmering water place the chocolate and cream into a heatproof bowl and half melt. Then take off the heat and mix until thick and glossy. Now you can take the mixture and cover your cake then decorate. The topping will need to set so leave for a few hours before devouring if you can.

Would love to know if you try this!


© W.M.C
Design:Maira Gall.